How To Apply Ardell False Lashes


This post is a paid for partnership and contains PR Samples
I remember the first time I tried Ardell false lashes. I was in Vegas many years ago and we’d been to Macy’s. We were heading out that night and wanted to glam up. I was also solely wearing glasses at the time. I remember being stood in the bathroom, glue everywhere, and trying to get these ridiculous lashes on my eyes all without the power of 20/20 vision. It was an absolute disaster and I ended up going out false lash-less. This was back in 2008, so to say that my makeup skills have come on in the last 13 years is an understatement. Especially when I think back to the times where I wore false lashes for work daily and, even at 2am, I could get those lashes on with ease, prior to slicking on the pink lippy and heading out to the airport. They didn’t call me Airport Barbie for nothing. I always get asked ‘how do I do lashes’ and ‘why can’t I get them on’ so I am going to show you and I have no doubt you’ll be a pro in no time.
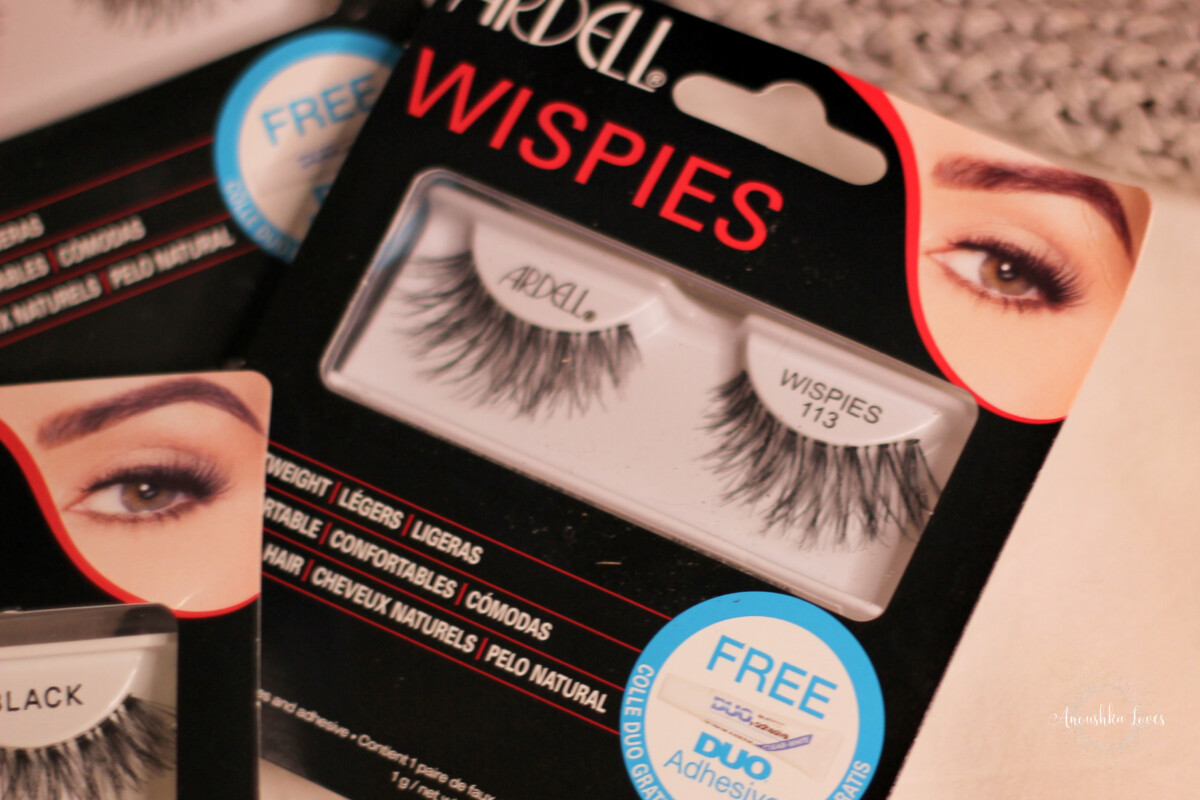
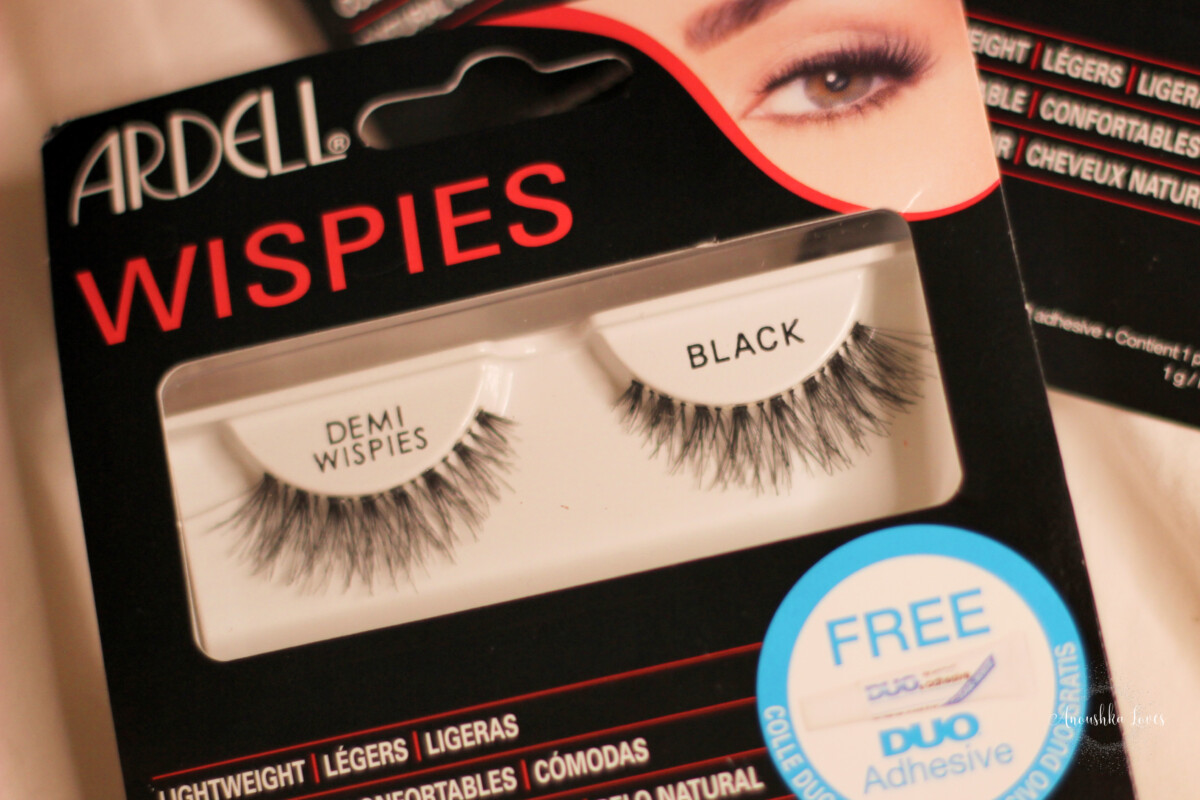
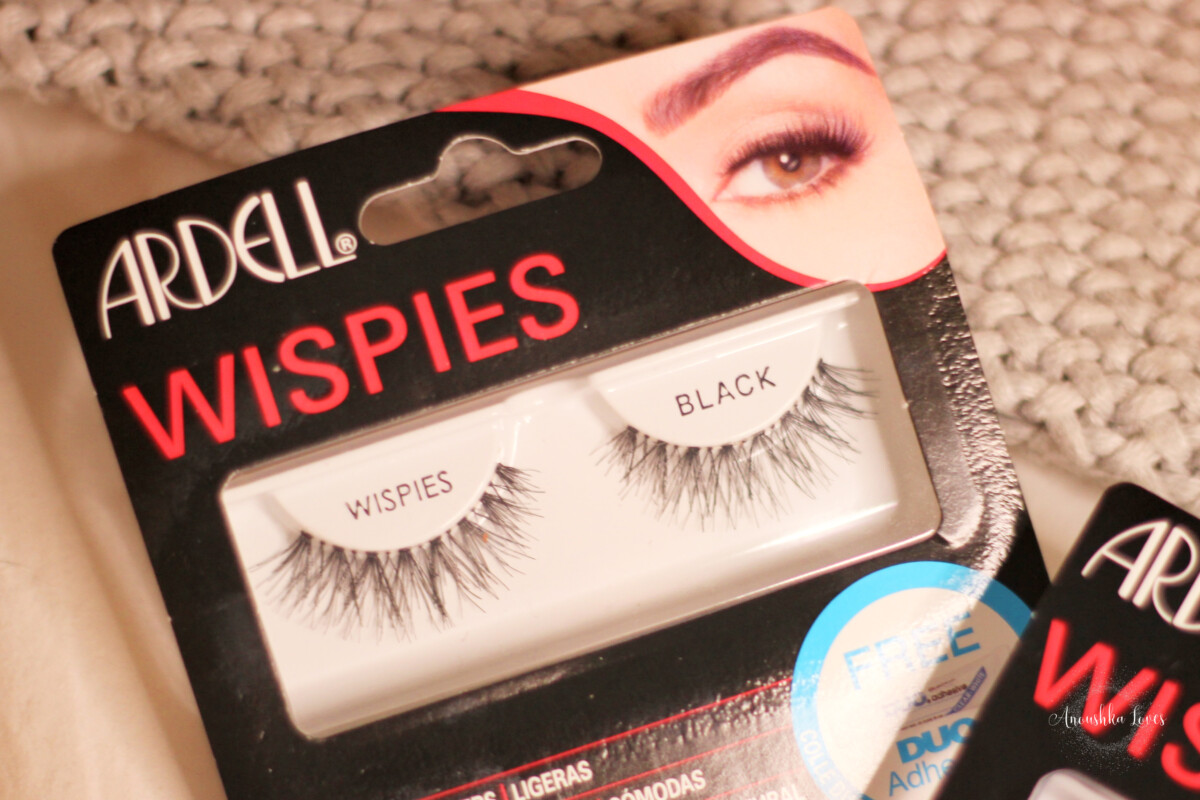
I have been using Ardell lashes since the beginning and I’m sure if you follow my Instagram you’ll recognise the Ardell 113 Wispies which are my ultimate favourite lash. You can buy them in individual packs but I would recommend to keep an eye out for the 5 pair multipack as they are great value for money. I also really like the Ardell naked lashes for a more natural false lash. They are more suited for day-to-day wear, whereas the 113s pack a punch with their lovely length and the way they make you look doe eyed and youthful.
How To Apply Ardell False Lashes – Step by Step
- Step One – Removing the lash from the packet has a knack. I always try not to remove by pulling from edge to edge but I bend the packet to be able to get hold of the lash in the middle and pull from the centre. Removing them this way means that you retain the shape of the band. If you remove them from edge to edge, you run the risk of straightening the band and this will lead to difficulty in applying them.
- Step Two – Always trim your lashes to fit. I used to skip this step thinking I have big eyes but once I realised that a shorter lash sits on the eye better, then there was nothing stopping me. Always trim from the inner corner in, so that the outer edges of the lashes are thick and full. You’ll also find that this stops any sharp edges of the lash digging into the sensitive areas of the inner corner of your eye.
- Step Three – Prepare the lash. I cannot tell you how important a good glue is for a perfect wear time of your lashes. I personally use Duo Lash glue which comes inside the packet. Over the years, I have found that I the Duo Black QuickSet Striplash glue is the one for me. If you use the standard Duo glue, you must wait for it to become tacky before applying. It takes around 30 to 60 seconds for the best tackiness to happen. This will help with placement and movement once you’re ready to add to your eye.


- Step Four – Applying the lash. The best way for me to apply my lashes is to look in a mirror that is directly in front of you. With your head tilted down, whilst looking forward, apply the lash to your lash line. I like to use tweezers to pop them on, and they also make a great lash application tool should you need further help. If I add the lash to the centre of my lash line, I can see where they need to sit to look the best and I can move them into position. As the glue is still tacky you have more control and don’t have to worry about wet glue getting all over your eyelids.
- Step Five – Lash Placement. Your false lash should be sat as close to your natural lash line as possible. You should avoid gluing them to your natural lashes as the glue can cause issues when removing the lash or if you don’t clean your natural lashes properly afterwards. You don’t want any blocked follicles on your eye lid. The outer corner of the lash should be sat where your lash ends and the lashes at the inner corner shouldn’t extend further than your natural lash.
- Step Six -Finishing Touches. I don’t tend to mascara my lashes after applying but if you feel they need further blending then a tight line waterline and a slick of mascara hides a multitude of sins. You can use a pair of tweezers or a lash applicator tool to pinch the lash into your real lash to blend further. Always take a mini tube of lash glue out with you – I can guarantee you’ll feel like one is coming loose and it’s better to be prepared than be bald if you need to take them off!
Applying false lashes does take practice but once you have conquered it, you will be dropping on the lashes as quick as a blink. If you follow my tips above, you’ll get a lovely smooth application and you’ll be fluttering your lashes in no time.

One really good bonus of using Ardell natural lashes is that they have a really good band. Whilst you can buy any lashes, if you have a really thick and stiff band, you’ll find it impossible to apply them. Ardell have made sure that application is easier with a thin, flexible band that is incredibly comfortable to wear. No wonder Ardell are a makeup artists favourite brand.
I’d love to know how you’ve got on using my tips to apply your false lashes. Let me know in the comments.
This post is in conjunction with Boots UK but all thoughts are my own.